Your First Invention

Featured

If you’re comfortable with following recipes, you might ask, “Why should I bother learning to improvise in the kitchen? My food tastes fine.”

Good! I never said your food was bad, and I still use recipes from time to time. But there are a number of practical reasons to learn to improvise more when you cook. The first I want to address is that knowing how to improvise can help you save money by helping you to eliminate food waste.

If you have ever cooked with fresh herbs, you have experienced the problem of buying a whole bunch when all you needed for the recipe was a few tablespoons of minced herbs. Most grocery stores won’t allow you to just take a pinch. What do you do with the remainder?

You could hang them and dry them. You could scour the internet for 7 more recipes that call for 2 tablespoons of minced cilantro (or whatever you have). Or you could make pesto and be done with it!

Traditional pesto is made with basil. But we’re improvising, and one of the simplest ways to learn how to improvise is to replace one ingredient with another, similar ingredient. So here’s a list of ingredients for a generic, “traditional” pesto:

  • 2 cups basil leaves
  • 3 cloves garlic
  • 1/2 cup extra virgin olive oil
  • 2 tablespoons pine nuts
  • 1/2 cup parmesan cheese

And here’s a list of ingredients for a more improvisational pesto:

  • Leafy green stuff
  • Garlic
  • Oil
  • Nuts
  • Hard, crumbly cheese
  • One lemon

Notice two important aspects of the second list: I’m not overly fussed about which greens, nuts, oil, or cheese I’m using, and I haven’t specified how much of anything to use. We simply begin with the knowledge that pesto is mostly leaves. The other ingredients are the supporting cast. So if you only have 2 tablespoons of cilantro left, pesto is pointless.

From there, use what you want. The first list of ingredients is helpful if you’re not sure of the proportions: mostly leaves, a decent amount of cheese, enough oil to make it saucy, and some garlic and nuts. Ultimately though, you need to taste your sauce. And smell it. And look at it. Your senses are your best guide when you’re improvising in the kitchen. All of them. When I pay very little attention to the time when I’m cooking; I decide when it’s time for the next step by sight, smell, taste, touch, and sound, and so should you.

I prefer using a molcajete or large mortar and pestle to make my pesto. It gives you more control over the recipe. I start by toasting the nuts (I’ve used walnuts, almonds, cashews, and pine nuts in the past). Do this by pouring a palmful or two of nuts into a heavy-bottomed pot over medium heat. Shake the pot about every 30 seconds; you want to toast the nuts as evenly as possible. They’re done when they’ve become darker and smell toasted.

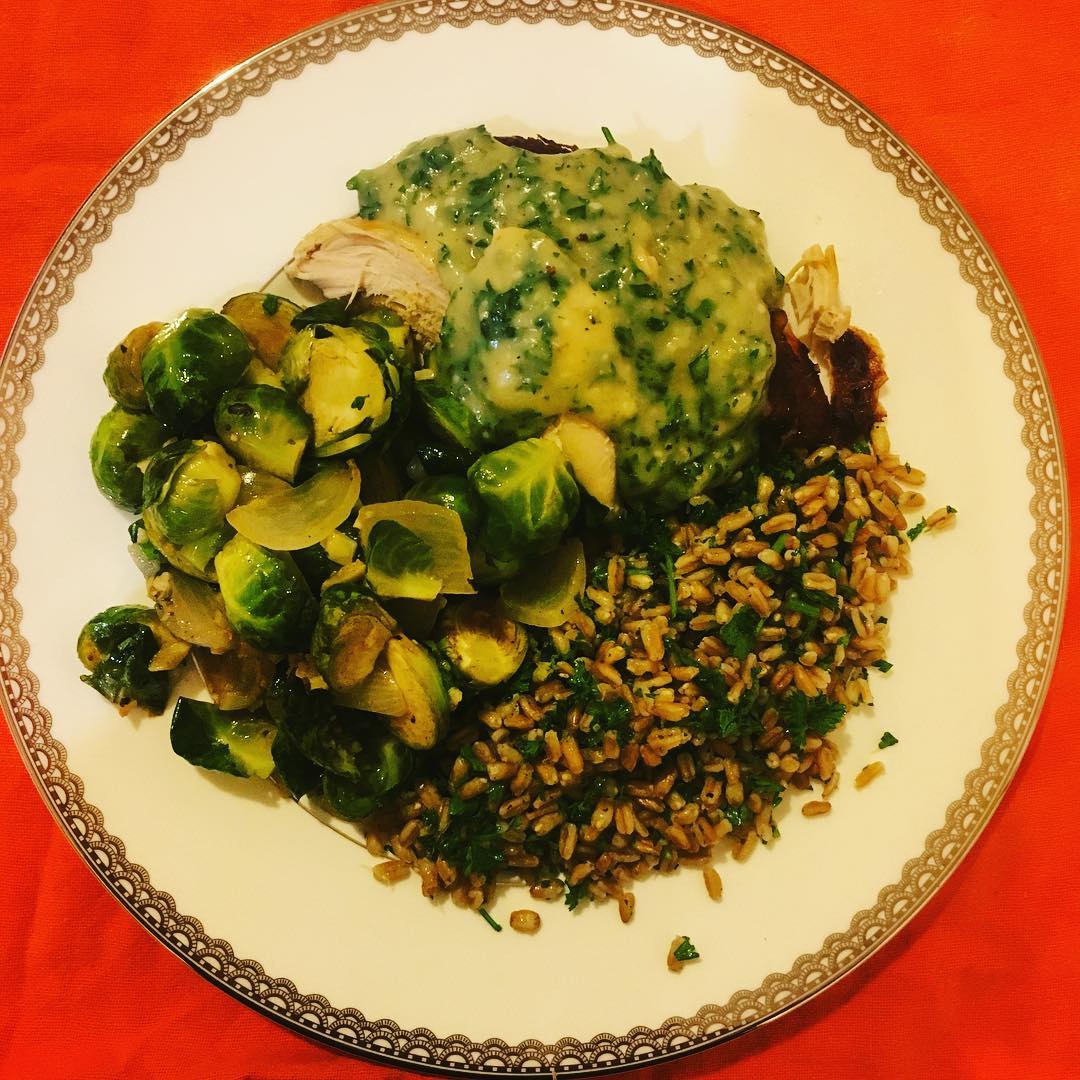
Grind the toasted nuts with your mortar and pestle. Add the garlic – I usually use 5 o 6 cloves because the wife and I love garlic – and a generous pinch of salt. Grind that into a paste. Next add your leaves. I have made pesto with basil, cilantro, arugula, kale, and spinach. The one thing that never varies, regardless of the leaves, is that you add them a little at a time. Once a batch has been mostly ground, add another batch. Cilantro leaves aren’t very big; you can include the stems as long as they aren’t too thick, and as long as you grind them well. Never include the kale stems.

After you’ve successfully ground all your greens, add your cheese. Keep the cheese in roughly the proportion of the “traditional” recipe (about 1/4 the amount of cheese as leaves), but ultimately it’s up to your taste. Honestly, I love parmesan cheese, so that’s the only cheese I have every used in my pesto. Then add enough oil to make it a sauce instead of a pile of ground up bits. I’ve used extra virgin olive oil, avocado oil, hemp oil, safflower oil, and walnut oil in my pestos. Add salt and pepper to taste. We’ll talk about salt and its role in deliciousness in another post.

Finally, add the zest of a whole lemon, and about half the freshly squeezed juice of said lemon.

When I make pesto, it’s usually to use up leftover herbs. Since it’s a way to avoid food waste, I use whatever substitutes for the other ingredients that I already have in my cupboard. So next time you go grocery shopping, pick up some leafy green stuff and try throwing together your version of pesto!

Of Potatoes and Improv

IMG_8266

In June 2014, just two months before our wedding, my left leg was shattered in a moped accident. Z’s first Ramadan since her mother passed away happened during  that summer I spent lying in bed recovering from surgery. I wanted to try to do something to make Eid — the celebration of the end of Ramadan — a little more bearable for her. Z had told me many times how her mom always made aloo paratha (flaky flatbread stuffed with potato) for Eid. So that’s what I wanted to do for Z.

I had no potatoes, no vehicle, and I could only stand for about 30 seconds before excruciating pain in my leg forced me to sit until it passed. But there were frozen Arby’s curly fries and pre-made paratha in the freezer. So I adapted a recipe for sookhe aloo I found in a cookbook, taking into account that the curly fries were already salted and spiced. Z ended up liking it so much, Arby’s aloo has become a regular part of my cooking repertoire. The recipe I use now is adapted from the recipe for sookhe aloo my host mother gave me during my first summer of language study in Lucknow. She did not give me measurements, so the measurements I provide are roughly what I use.

Arby’s Aloo:

  • Fenugreek seeds
  • Cumin seeds
  • Bay leaves
  • Kathai (“bitterness” or “sourness”): amchoor (powdered unripe mango), lemon juice, or lime juice
  • Salt
  • Cayenne pepper
  • Turmeric
  • Black pepper
  • One yellow onion (small diced)
  • Frozen seasoned curly fries (the measurements I give below are for a 22 oz. bag)
  • Frozen peas
  1. Dump the whole bag of curly fries into a microwave-safe bowl. You want them to be mushy, so add about 1/3 cup of water and give them a toss to coat them. Microwave on high for nine minutes, stirring halfway through and adding more water if needed. While the fries are in the microwave, you’re going to start was is called a tarka (hot-oil infusion):
  2. Heat about 5 tablespoons of oil (I use walnut oil, but anything for medium- to high-heat cooking is fine) in a large sauce pan or frying pan over medium-high heat. Once the oil is shimmery, add around half a tablespoon of cumin seeds. They should begin to puff up and darken almost immediately. If they don’t, keep an eye on them until they do. Once they’ve puffed and darkened for a few seconds, add about a scant teaspoon of fenugreek seeds and 3-5 bay leaves. Give the oil a quick stir or two and add the onion.
  3. Add a small amount of salt (maybe half a teaspoon for now) and sauté the onion until it is semi-translucent and fragrant. Add the curly fries and stir to coat them with the onion and spice mixture. With a potato masher or the back of your stirring spoon, mash the fries until they are barely recognizable as fries.
  4. Add about a half teaspoon of turmeric, 1/4 teaspoon of cayenne pepper (adjust more or less to taste), and about a teaspoon of your kathai. Continue sautéing for a minute or two.
  5. Add the frozen peas and continue cooking until the peas are thawed. Taste to adjust your seasonings. If you add more spices, be sure to cook for at least another minute to cook out the taste of raw spices.

Serve this as a side dish with kababs (Colonel Kababz are a good frozen kabab available at Indian grocery stores if you don’t know how to make them yourself), other vegetables, and rice or naan. Stuff Goya frozen empanada shells (follow the directions on the package) with Arby’s aloo and bake at 400 degrees Fahrenheit for 15-20 minutes. Or make our puff pastry potato samosas: using Pepperidge Farm puff pastry sheets, cut each sheet into 9 squares. Put about one tablespoon of aloo in the center of each square. Paint two adjacent sides with some beaten egg, and fold into a triangular mini-turnover shape. Crimp the edges with a fork and bake the samosas for about 15 minutes at 400 degrees Fahrenheit.

Until next time, aloo be wishing you good cooking and happy eating!

NOTE: If you make this with potatoes rather than curly fries, boil the potatoes in salted water until tender. While they are boiling, use a frying pan to dry roast ~1/2 tablespoon of whole cumin, ~1/2 tablespoon of whole coriander, and 1 or 2 dried chilis. Grind the roasted spices in a food processor or mortar and pestle, and add ground spices when you add the potatoes in step 3.

Banana Bread Hack


Banana BreadI’m gonna let y’all in on a little secret: pancakes are just quick breads you cook on a griddle. Which means if you have pancake mix and overripe bananas, you can have banana bread in the oven in about the time it takes to read this post. And with almost no cleanup!

Preheat your oven to 350 degrees. Go do something else while the oven preheats. The batter really is that fast. The leavening agent in quick breads is carbon dioxide released from baking powder; it you mix the batter too early it will go flat before you put it in the oven.

Once the oven is preheated, oil a loaf pan. Peel three overripe bananas and mash them in a medium-sized mixing bowl with a fork, mixing spoon, or potato masher. Add 2 cups of pancake mix (I had Krusteaz Light and Fluffy Buttermilk so that’s what I used) and 3/4 cup of liquid. Water is fine, but I always use milk when I make brownies or pancakes from a mix. If you have vanilla extract, add a teaspoon. Your banana bread will turn out just fine without it, but vanilla extract is the magic elixir that turns most baked goods into baked greats. See what I did there?

Stir until just mixed. Small lumps in the batter are not only OK, they’re desirable. Pour the batter into your loaf pan and stick it in the oven for an hour. In the second half of the hour, keep an eye on the top. If it seems to be browning more than you’d like, slow the browning by covering the pan with some aluminum foil, shiny side out. Check to see if it’s done after an hour. If a toothpick, cake tester, fork, or knife blade inserted in the center of the bread comes out clean, it’s done. If the bread needs more time, check it every 5 minutes until it’s done. Allow it to cool completely before you cut it.

Fast Food

One Friday I was at home, doing some research and writing, when I got a text from the wife: “Don’t forget, we have people coming for dinner tonight at 6.” I checked the clock: 4 p.m. We had not been grocery shopping in over a week; there was barely enough for us to have dinner ourselves that night…and I have a tendency to spread out when I’m working on a research project, so the house needed to be cleaned. I frantically tidied up to make the house presentable, and checked the clock: 5 p.m. By then Z was home, so I took the car to the grocery store.

Fortunately, knowing how to improvise in the kitchen can help on those days you’re just too busy. Maybe you’ve done nothing but run errands all day. Maybe there was a work emergency that kept you late. Maybe your spouse calls to remind you of a dinner party you’re hosting that they never told you about to begin with…

I picked up some asparagus, potatoes, and a whole roasted chicken. While the potatoes boiled, I rinsed, prepped, and sautéed the asparagus. Then I drained and mashed the potatoes, and finished by throwing together a white sauce. In half an hour, I had a roast chicken dinner that looked and tasted like I’d spent hours on it. Because of course I put that chicken on our own platter and hid the packaging in the trash. Ha!

The secret to a dinner like this is knowing the magic of sauces. A good sauce serves as a bridge connecting the different elements of food on the plate. And when you’re serving store-bought roast chicken, it adds that special “home-made” touch that creates the illusion you were a lot more prepared than you were!

There are two main types of white sauce: béchamel (made with milk) and velouté (made with broth). At their most basic, either type of white sauce is nothing more than butter, flour, and liquid – the perfect vehicle for a saucy bit of improv.

First thing to do is make a roux, which is a thickening base made from butter and flour. Over medium-low heat, melt 2 tablespoons of butter in a heavy-bottomed sauce pan. Once the butter is completely melted, whisk in 2 tablespoons of flour. Stir constantly until the mixture has stopped foaming and smells a bit nutty, but has not darkened (2-4 minutes). Add your liquid – either 2 cups of milk or 2 cups of chicken broth – a little at a time, continually whisking out the lumps as you do so. You can also heat your liquid to near-boiling while you’re working on your roux. If you do this, you can add the liquid all at once without causing lumps and save yourself a lot of whisking. But frankly, I almost always forget to heat my liquid and the sauce still turns out fine.

Once you’ve added your liquid, turn the heat up to medium-high and heat the sauce to boiling, stirring constantly to avoid burning. Once the sauce boils, turn the heat back to medium-low. Add salt and pepper to taste. That’s it. Your basic white sauce is done.

But why stop at basic? Your white sauce is a blank canvas; add some color! You could mince some fresh herbs you have lying around (maybe you’re making pesto tomorrow?) and toss those in. Dried herbs work, too. I’ve stirred a spoonful of low-sodium Better Than Bouillon into a béchamel. If you’re going to do that, though, make sure you do it before you add salt and pepper to taste. If you’ve made a velouté, try adding a splash of heavy cream or some extra butter. Maybe experiment with adding some spices, like a pinch of nutmeg or some strands of saffron. Whatever you try, add a little at a time and remember taste, taste, taste. You can always add more if you’re not satisfied with the amount of flavor you’re getting; you can’t take it out once you’ve put it in.

On the evening of the chicken dinner, I made a béchamel and added a little Better Than Bouillon and some dried parsley for a gravy that went really nicely with the chicken and mashed potatoes. The next day I made a velouté with a little thyme and a splash of heavy cream. Then I tossed in all the leftover chicken that I could pick from the previous night’s roast and added some sautéed onions and frozen vegetables. I made a pie crust, and we had chicken pot pie.

pot pie

(Above: not the same chicken pot pie I just described)

My sister-in-law still asks me for the recipe to a hand-pie I created by sautéing onions and chunks of chicken breast flavored with South Asian-inspired spices, stirring that into a plain béchamel, and wrapping it all up in Sarah Lee frozen puff-pastry sheets. Melt some shredded cheese into a béchamel to make a sauce for nachos or homemade macaroni and cheese. If you add cheese, keep it to about 1/4 as much cheese as sauce; otherwise it becomes decidedly un-saucy.

Speaking of un-saucy, changing the proportion of roux to liquid changes the thickness of the sauce. As a rule of thumb, think 1:1:1 – 1 tablespoon of butter and 1 tablespoon of flour for every 1 cup of liquid. Play with your proportions only after you’ve made a basic white sauce enough times to get a feel for how it looks, tastes, and behaves. Have fun getting saucy!